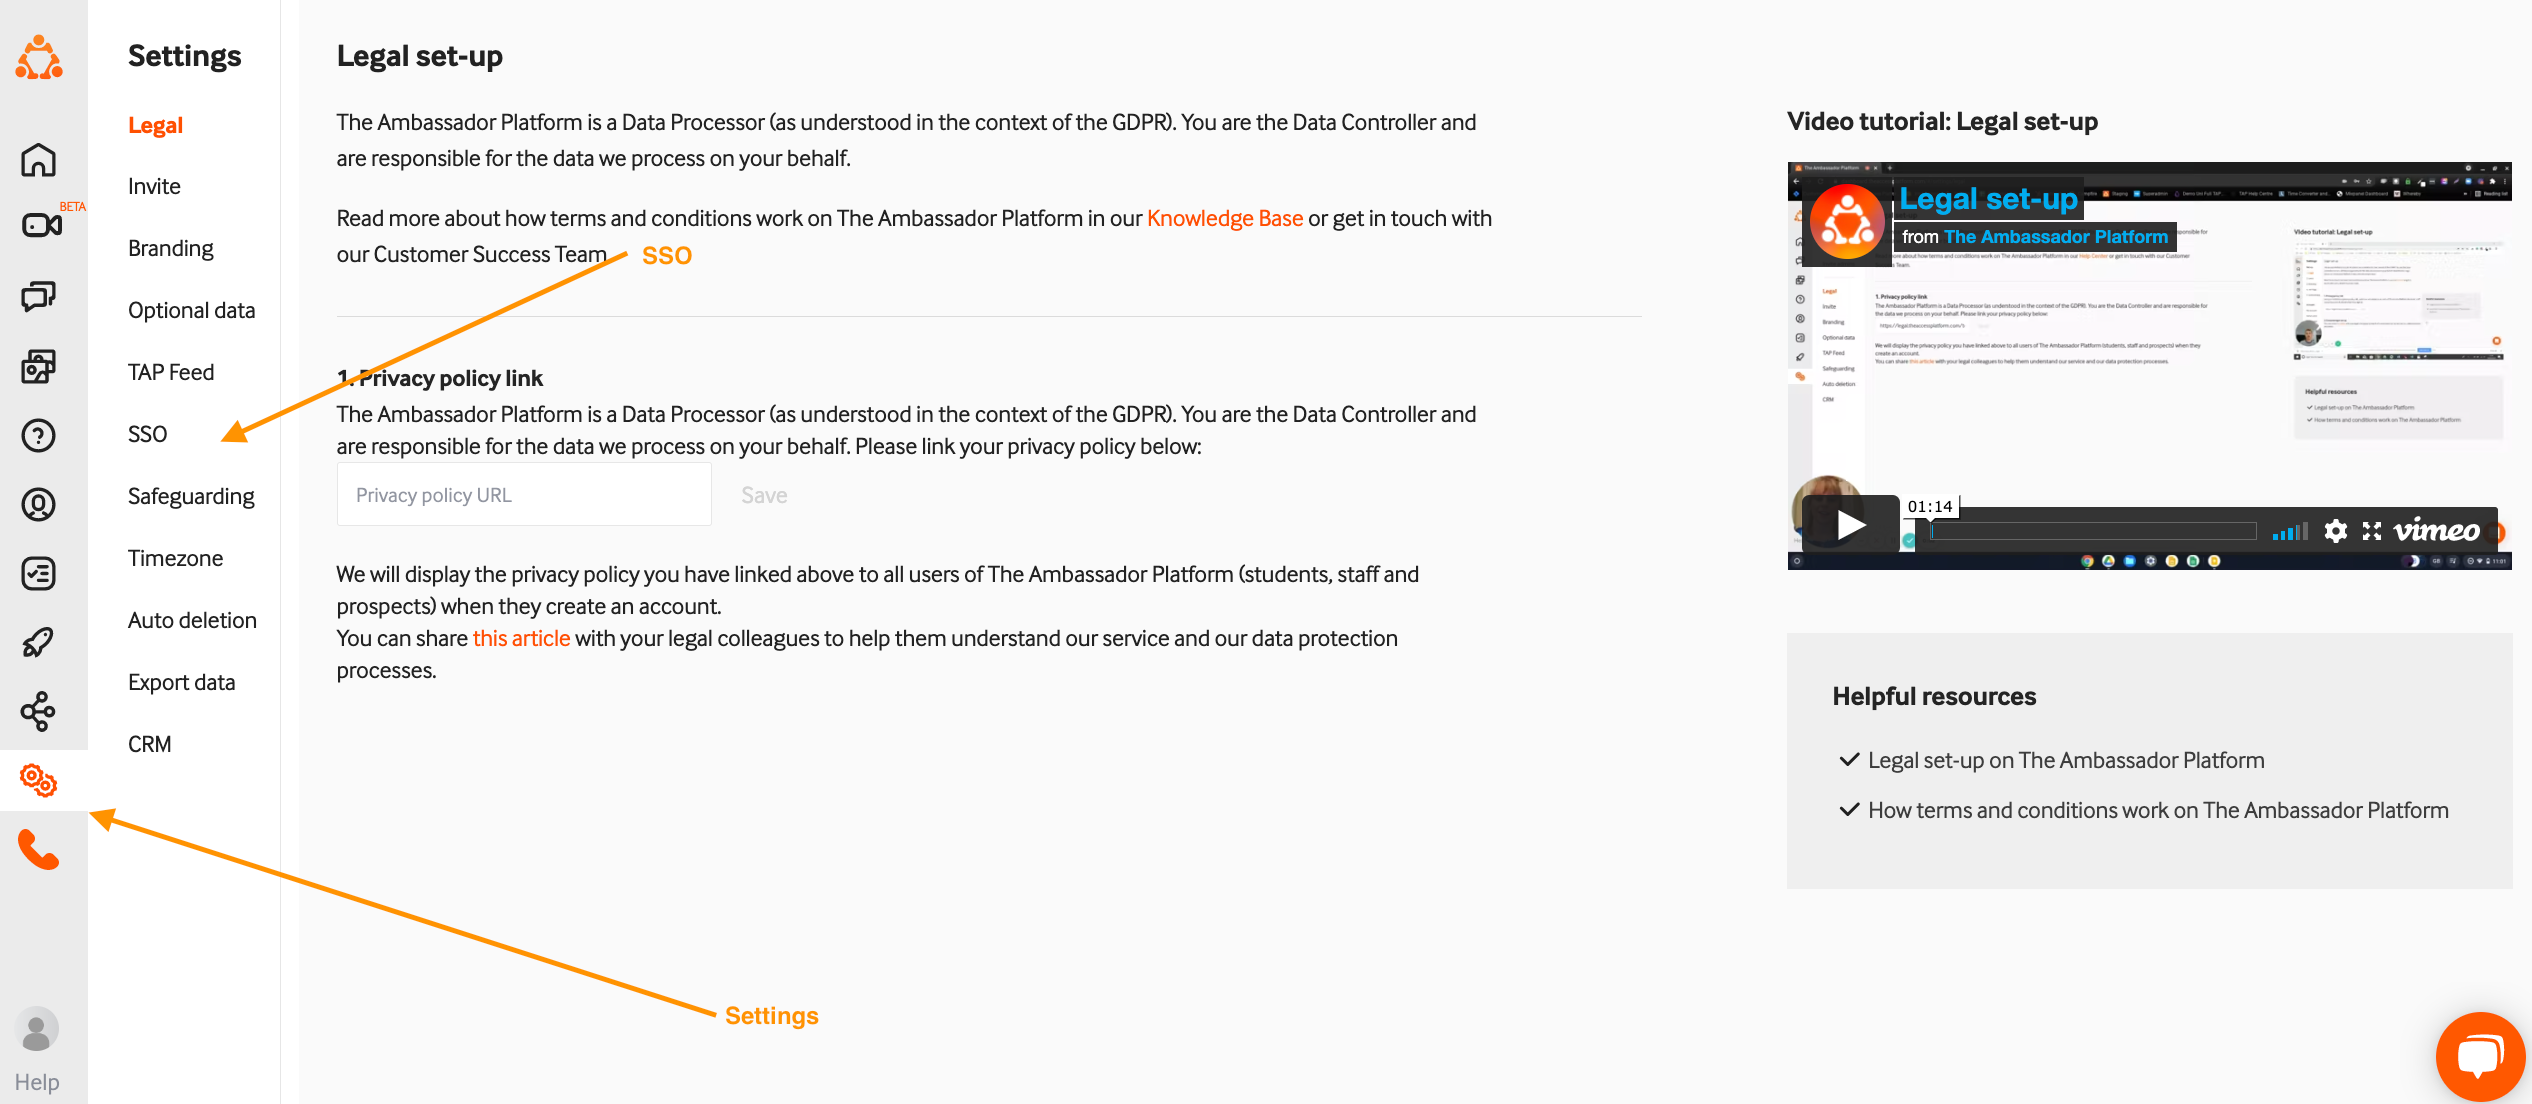
This article covers step-by-step guidance for configuring SSO via your Admin Dashboard.
Prerequisite
-
Get SSO enabled (see section at the bottom of this article)
-
Ensure that SSO application is configured on your end depending on the IDP, i.e.
-
Configure SSO for Azure AD
-
Configure SSO for SAML
-
Configure SSO for OpenIDConnect
-
Set up SSO on TAP
Step1: Log in in to your admin dashboard
Step 2: Navigate to the SSO configuration

Step 3: Configure SSO
-
Pick an SSO provider
-
Provide the details of the configuration that match what you have set on IDP:
|
Organization name |
|
|
Metadata |
For Azure |
|
|
MetaData URL: App Federation Medatata URL (in Azure terms) |
|
|
For SAML |
|
|
Metadata: Upload Metadata that you have downloaded from your provider |
Step 4: Activate SSO
Step 5: Start testing.
🚫 Don’t click on SSO ONLY access until you are done with testing and have ensured that SSO is working for you and you can access both dashboard and a mobile app using both SSO and non-SSO credentials.
⚠️ After the configuration is complete you can log into the application using both SSO and non-SSO powered credentials that you may have had before the configuration.
ℹ️ When you are done with testing (see above), you are able to turn on SSO-only access. You will be logged out immediately and you will need to log in again using SSO credentials.
Any questions please just send through to support@theambassadorplatform.com. We'd also be happy to have a quick 15-30 minute call to help anyone who requires additional help.