This article explains how you can make your Feed available in an engaging and personalized way whilst tracking the resulting traffic.
Making your Feed available to your target audiences is an essential. However, you don't necessarily want to promote the same profiles and content in every campaign or from every link you create. Similarly, you might want to be able to distinguish which campaigns and links you've created that are driving the most traffic and chat interactions. We've built Promotion to make all of this simple for you. Make sure you check out our article with specific examples of how you can use Promotion.
First, here's how the feature works:
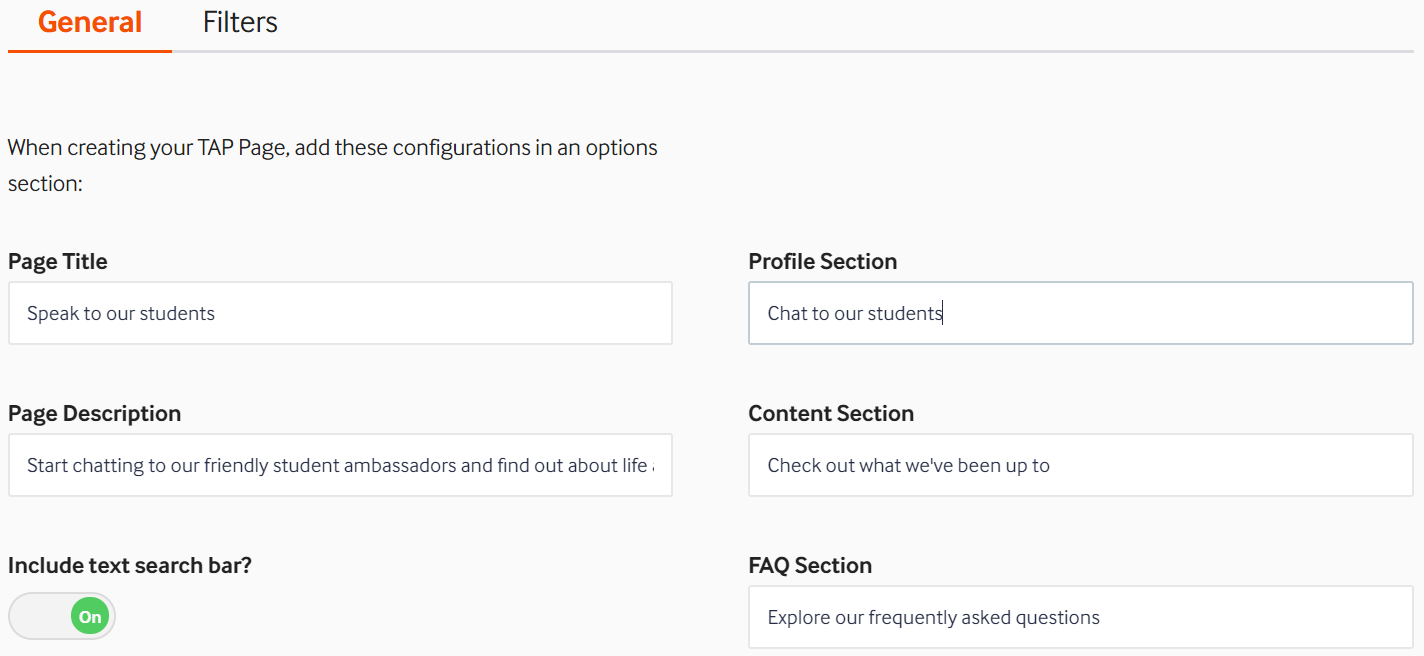
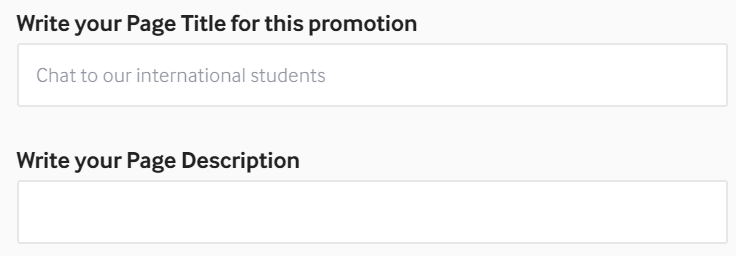
On your Feed, use our Page Title and Page Description sections to give a clear default call to action and instruction to your prospects - this could for example be 'Chat to our students'.
-
Select the type of promotion you want to create. Currently we have a pop card, carousel, tracked links, and a button:
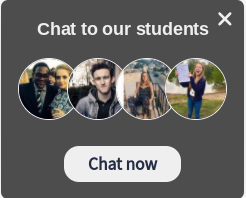
Pop card
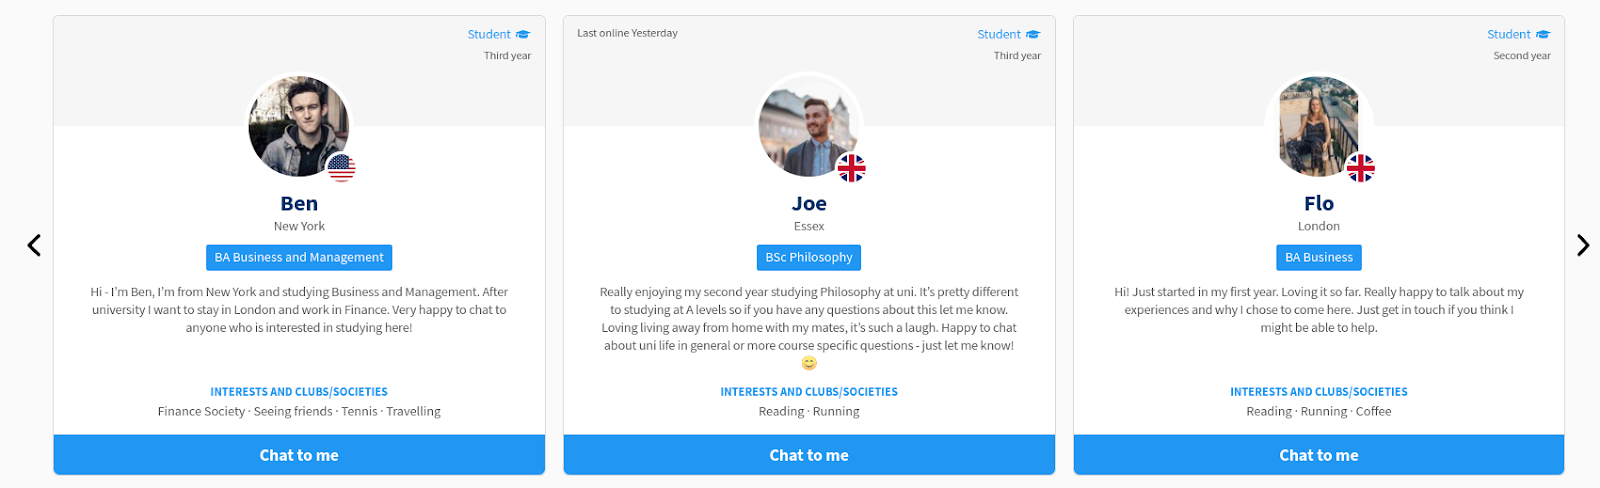
Carousel
Button

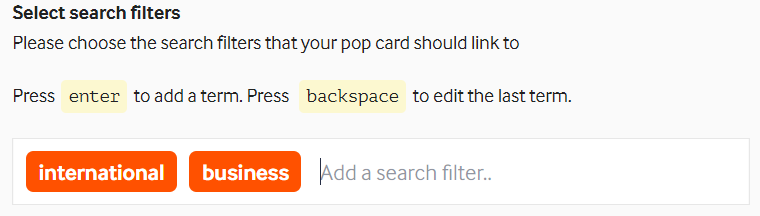
2. Add the search filters that you'd like to apply. This will pre-search the Feed by ALL of the search filters you apply. For example, if you enter "International" and "Business", this will show all of the content on your TAP Page that references "International" AND "Business".
If you are using Tag Manager, any profiles, content or FAQs that you tag with these search terms will also be delivered in the filtering.
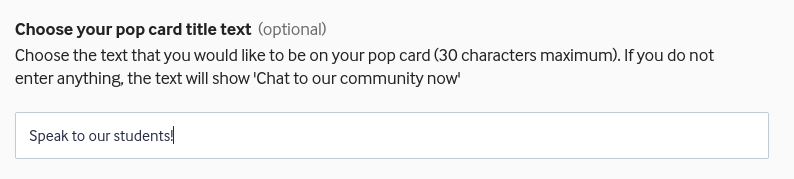
3. Customize the pop card title text if you'd like to - the default is 'Chat to our Community' but you can change this to anything up to 40 characters.
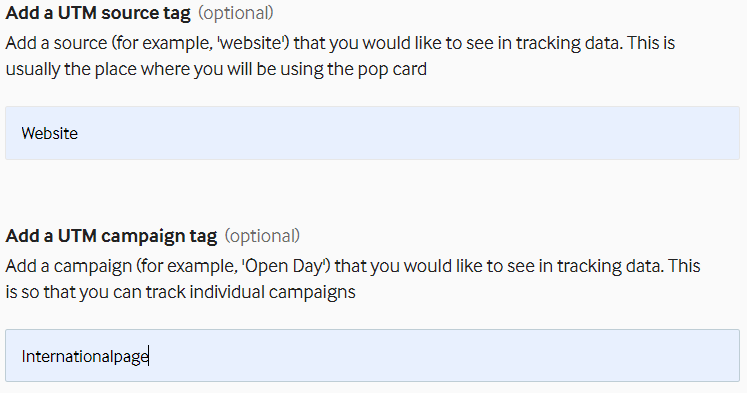
4. Apply your tracking. We use normal UTM tracking so Google Analytics and Google Tag Manager will pick it up. We automatically complete the 'Medium' information based on the type of promotion you've chosen and you can optionally add in the "Campaign" and "Source" as appropriate:
5. Customize your Page Title and Page Description if you'd like to adjust the messaging for prospects landing on the Feed through this promotion.
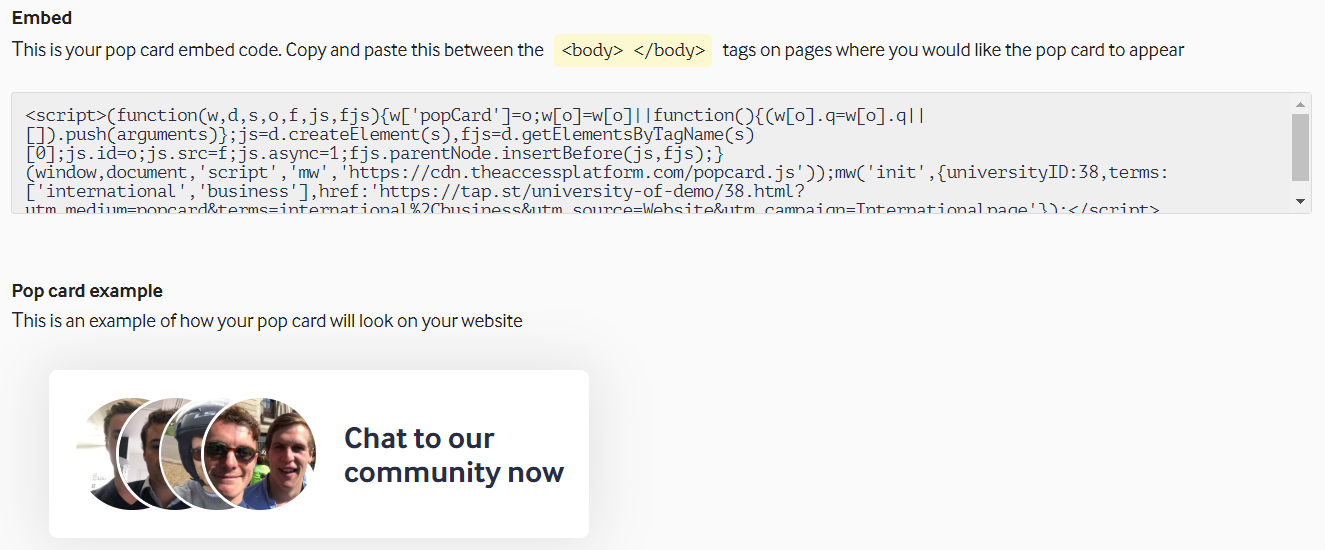
That's it. You'll see a summary, a preview of what you've created and then you can go ahead and copy the code and follow the instructions to embed on your website or in your campaign:
Here is a short video walking through each of those steps:
If UTM tracking is already applied to a user, for example the user has come through a tracked Facebook campaign as in the example above, our UTM tracking will not overwrite that existing tracking.
As always, get in touch with our Customer Success Team via live chat or email if you have any questions.